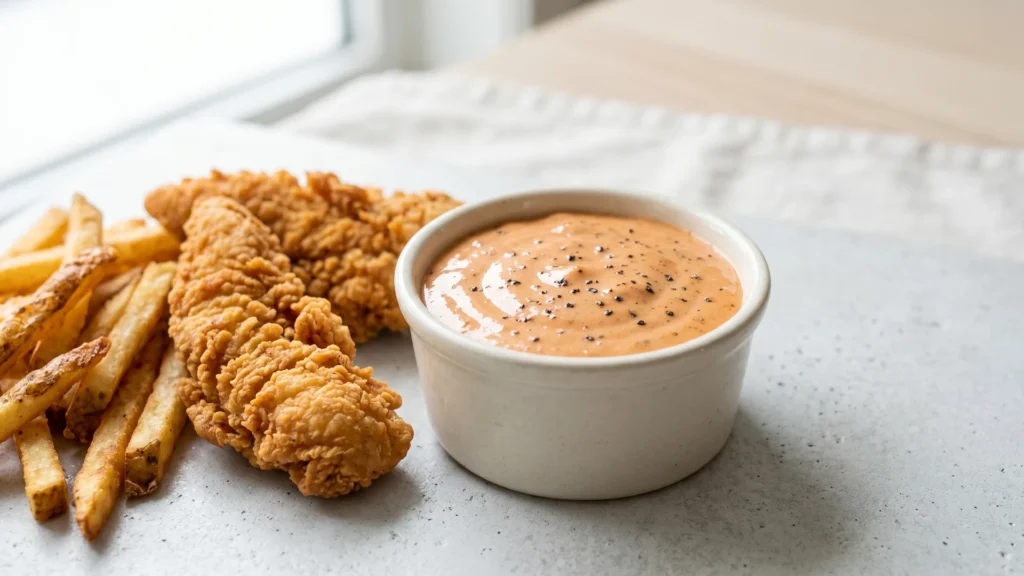
If you have ever stood at a Raising Cane’s counter and wondered what makes that little cup of dipping sauce so addictive, you are not alone. People will drive across town for it. The good news is that learning how to make Cane’s sauce at home takes about five minutes of hands-on work and a short list of pantry ingredients you almost certainly already own. The hard part is not the mixing. The hard part is waiting, and the explanation below covers exactly why that wait matters more than any single ingredient.
At SauceGrove, condiments are the whole point rather than an afterthought, and copycat dipping sauces are some of the most requested recipes. This guide walks through the real ingredient ratios, the one step almost every shortcut version skips, a full troubleshooting chart for when your batch comes out thin or flat, and smart swaps for whatever you happen to be missing. By the end you will be able to make a batch that holds up next to the original, plus a few variations the chain never sells.
What Cane’s Sauce Actually Is
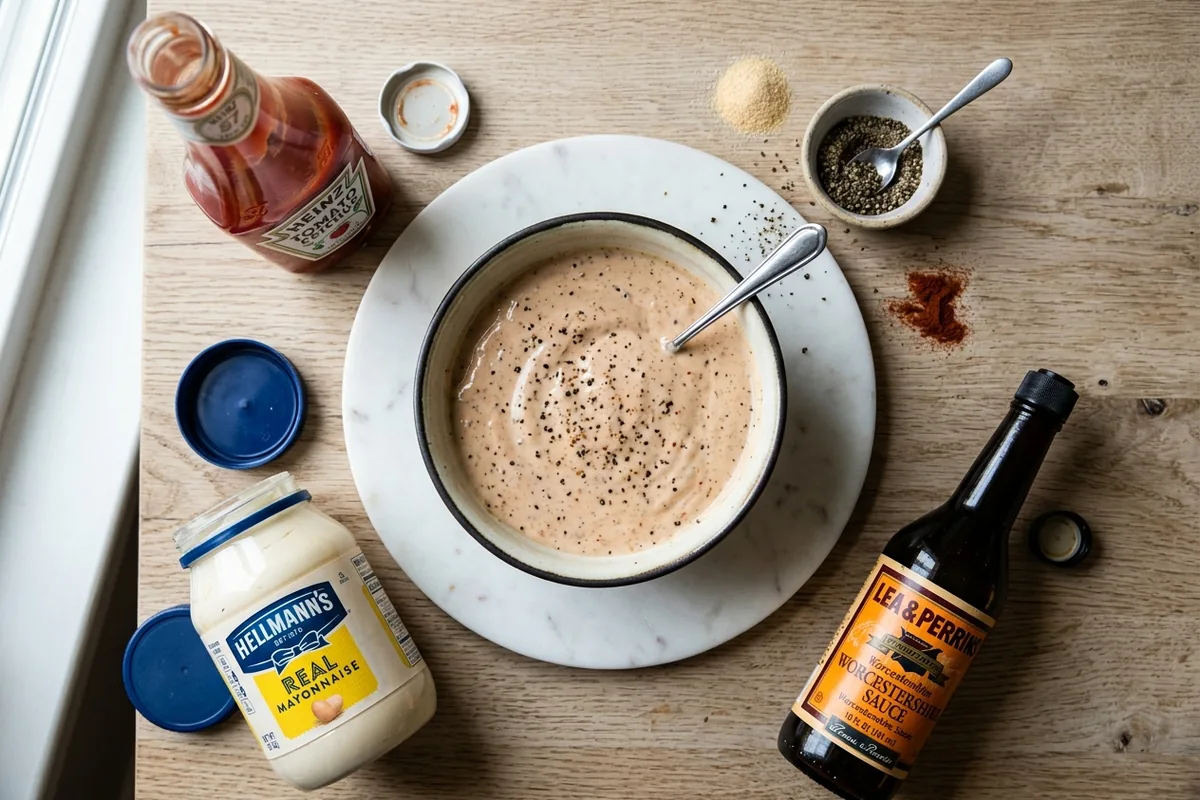
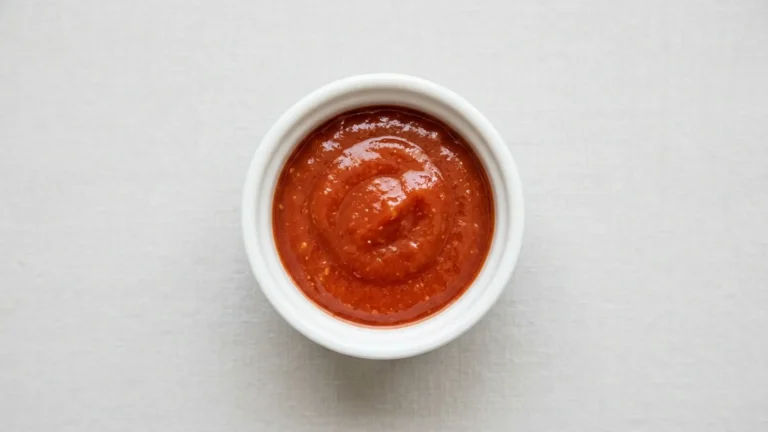
Cane’s sauce belongs to a family of creamy, mayonnaise-based dipping sauces that lean savory rather than sweet. At its core it is a blend of mayonnaise and ketchup brightened with Worcestershire sauce, then seasoned heavily with coarse black pepper and garlic. That pepper is not a rounding detail. It is the defining note, the thing your tongue notices first, and it is the reason a generic fry sauce never quite tastes the same.
It helps to place it on the map of similar sauces. It is creamier and less sweet than barbecue sauce, spicier than ranch, and far more peppery than a basic Thousand Island. If you have ever tried the Southern classic known as comeback sauce, you are in the same neighborhood: a mayonnaise and ketchup base built up with savory, tangy seasonings. Understanding that family resemblance is useful, because once you know the base, you can adjust any single element without breaking the whole thing.
The chain has never published an official recipe, which is exactly why so many copycat versions float around the internet, each one slightly different. The disagreements between versions almost always come down to two things: how much Worcestershire goes in, and how heavy the pepper is. Some versions push the Worcestershire hard for a darker, more savory cup; others keep it light and let the ketchup sweetness lead. The amounts in this guide sit in the middle, which is where most people taste it and say that is the one. Once you have made it once, you will know instantly which direction your own palate wants to nudge it, and the troubleshooting and substitution charts below make those adjustments painless.
The Ingredients and What Each One Does
Every ingredient here earns its place. Cheap mayo versus good mayo, and pre-ground pepper versus freshly cracked, make real differences. Here is the working formula for a single batch, roughly three quarters of a cup, which is enough sauce for two to three hungry people dipping chicken fingers and fries.
| Ingredient | Amount | Role in the sauce |
|---|---|---|
| Mayonnaise (full-fat) | 1/2 cup | Creamy base and body |
| Ketchup | 1/4 cup | Sweetness, color, light tang |
| Worcestershire sauce | 1 tablespoon | Umami and savory depth |
| Garlic powder | 3/4 teaspoon | Background savory warmth |
| Coarse black pepper | 1/2 teaspoon | Signature peppery bite |
| Smoked or sweet paprika | 1/4 teaspoon | Subtle color and aroma |
| Kosher salt | 1/4 teaspoon | Sharpens every other flavor |
A few notes from the bench. Use a full-fat mayonnaise, not a light or whipped version, because the fat carries flavor and gives the sauce the thick, clingy body you want for dipping. The ketchup does triple duty, adding sweetness, the familiar orange-pink color, and a gentle tomato tang. Worcestershire is the secret savory backbone; it is a fermented condiment loaded with umami, and you can read more about how it is made on the Worcestershire sauce reference page. Finally, treat the black pepper as a headline ingredient. Coarsely cracked pepper from a mill tastes brighter and more aromatic than the dusty pre-ground kind, and in a sauce this simple, that difference is obvious.
The paprika is a small addition to the classic formula, and it is optional. A quarter teaspoon of sweet or lightly smoked paprika deepens the color toward that warm restaurant orange and adds a faint sweetness without making the sauce taste of paprika. Leave it out if you want the most stripped-down version, though it nudges a homemade batch closer to the look and rounded flavor of the real thing. Everything else on the list is non-negotiable; pull any one of the mayonnaise, ketchup, Worcestershire, garlic, pepper, or salt and the sauce stops tasting like Cane’s.
How to Make Cane’s Sauce Step by Step
There is no cooking and no special equipment. A bowl, a whisk or fork, and a measuring set are all you need. Work in this order for the smoothest result.
- Combine the base. Add the mayonnaise and ketchup to a bowl and whisk until the color is even and there are no streaks of red or white.
- Add the savory layer. Pour in the Worcestershire sauce and whisk again. It will loosen the mixture slightly, which is normal.
- Season generously. Add the garlic powder, paprika, salt, and that all-important coarse black pepper. Whisk until fully blended.
- Taste, then stop. Resist the urge to over-correct right now. The flavors are still raw and unmerged, so it will taste a little flat and ketchup-forward. This is expected and is not a sign you did anything wrong.
- Cover and chill. Transfer to an airtight container and refrigerate. This is the step that turns a decent sauce into the real thing.
The One Step Everyone Skips: Why Resting Matters
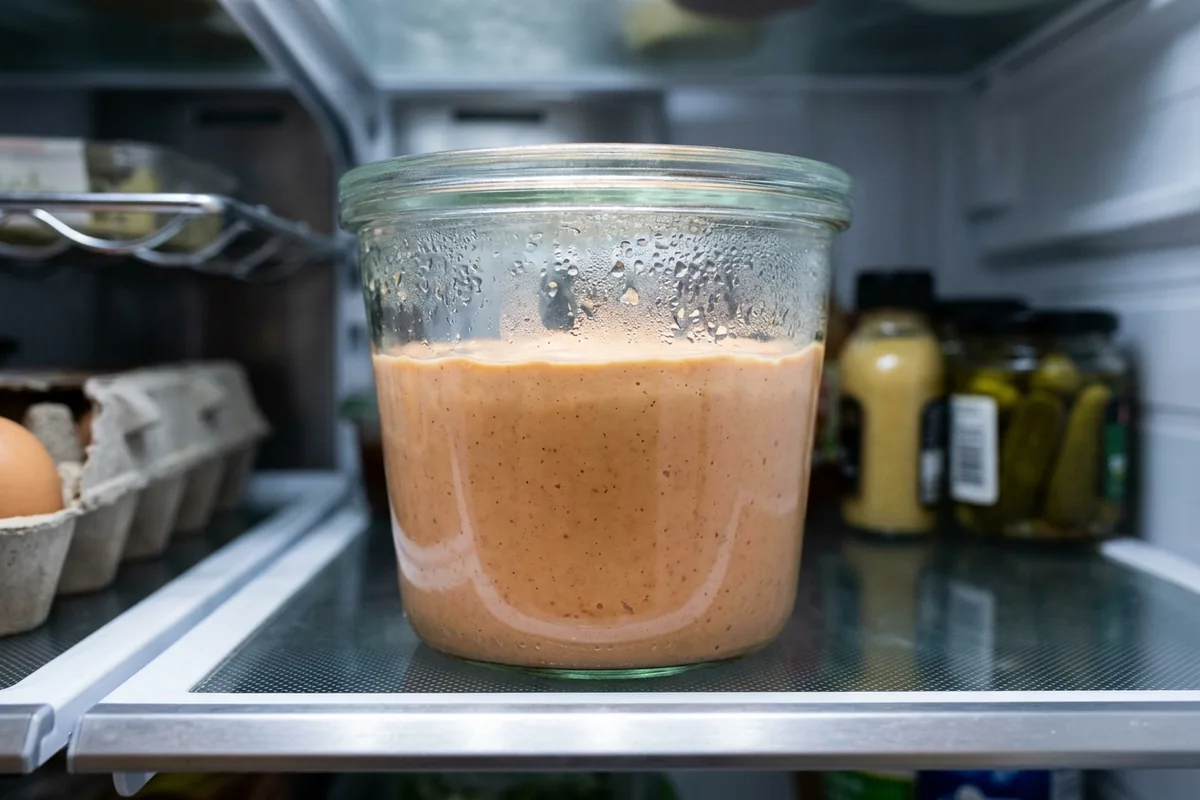
If you take one thing from this guide, take this: the sauce needs to rest in the fridge before you serve it. A minimum of four to six hours makes a clear difference, and a full overnight rest of twelve to twenty-four hours is where it truly arrives. Skip this and you will taste mayonnaise and ketchup sitting side by side rather than a single, rounded sauce.
Here is what is actually happening during that wait. The garlic powder and dried spices are still partly dry granules when you mix them in; they need time to absorb moisture from the mayonnaise and ketchup and release their flavor compounds into the liquid. The salt slowly dissolves and distributes, which sharpens and unifies everything around it. The Worcestershire, which is itself a fermented product full of slow-moving savory molecules, disperses evenly instead of sitting in pockets. Cold also tames the raw sharpness of the ketchup and garlic. Give it that time and the harsh edges round off into something cohesive. It is the same principle behind letting a chili or a marinade sit overnight, just on a smaller, faster scale.
There is also a texture payoff that does not get talked about enough. Freshly whisked, the sauce can look slightly loose because the dried seasonings have not yet swelled. After a few hours in the cold, the spices have hydrated and the whole thing tightens up into that thick, spoon-coating consistency that clings to a chicken finger instead of dripping off it. So the rest is not only about flavor; it is doing real work on the body of the sauce too. If you have ever made a batch that seemed thin right after mixing and then magically thickened overnight, this is why. Mixing it the night before is the best default habit, and the version straight out of the bowl is the worst it will ever taste, not the best.
If you genuinely cannot wait, there is a partial shortcut. Bloom the garlic powder and pepper in the Worcestershire sauce for a few minutes before adding the mayo and ketchup. Stirring the dry seasonings into the liquid Worcestershire first gives them something to dissolve into right away, which buys you a noticeable head start on flavor melding. It is not a full substitute for the rest, but on a busy day it gets you most of the way there in twenty minutes instead of overnight.
Scaling the Recipe for a Crowd
One of the most common questions is how to multiply this without it going wrong. The ratios hold up cleanly, so you can scale with confidence. The base relationship to remember is roughly two parts mayonnaise to one part ketchup, with the seasonings tracking along. Use this chart to hit the right amounts whether you are feeding a couple of people or a whole game-day table.
| Batch size | Mayonnaise | Ketchup | Worcestershire | Garlic powder | Black pepper |
|---|---|---|---|---|---|
| Single (about 3/4 cup) | 1/2 cup | 1/4 cup | 1 tbsp | 3/4 tsp | 1/2 tsp |
| Double (about 1.5 cups) | 1 cup | 1/2 cup | 2 tbsp | 1.5 tsp | 1 tsp |
| Party (about 3 cups) | 2 cups | 1 cup | 1/4 cup | 1 tbsp | 2 tsp |
When you scale up, the resting rule matters even more, not less. A larger volume of sauce takes a little longer to fully meld, so make a party batch the day before. Whisk a large batch in stages rather than dumping everything at once, since it is easier to fully emulsify the mayo and ketchup before the thin Worcestershire goes in.
Common Mistakes That Ruin a Good Batch
Most failed batches are not bad luck, they are one of a handful of repeatable mistakes. Knowing them in advance saves you from wasting ingredients. The first and biggest, as noted above, is serving it immediately and deciding it is bland. Give it the rest before you judge it.
The second is using the wrong pepper. Fine pre-ground pepper that has been sitting in a tin for a year has lost most of its aromatic oils, so it adds a dusty heat without the fragrance that makes this sauce sing. Crack whole peppercorns in a mill set to coarse and you will taste the difference immediately. The third mistake is going too light on seasoning out of caution. This is a confident, well-seasoned sauce, not a timid one; under-salting in particular leaves it tasting muddy and dull no matter how long it rests. Measure the salt and pepper properly the first few times rather than eyeballing them.
A fourth, sneakier mistake is adding fresh garlic instead of garlic powder without adjusting. Fresh garlic is sharper and more pungent, and a full clove can easily overpower the cup and turn bitter as it sits. If you prefer fresh, use far less than you think, grate it to a paste so it disperses, and taste after resting. Finally, do not over-thin the sauce chasing a pourable consistency. Cane’s sauce is meant to be a thick dip, not a dressing; if it is too stiff for your liking, loosen it a teaspoon of water at a time rather than splashing in more Worcestershire, which would throw off the seasoning balance.
Troubleshooting a Batch That Came Out Wrong
Because this sauce is so simple, every ingredient pulls real weight, which means a small misstep shows up immediately. The good news is that almost everything is fixable in the bowl. Here is the chart for when a batch is not behaving.
| Problem | Most likely cause | Fix |
|---|---|---|
| Tastes flat, just like ketchup | Not rested long enough | Chill 8 to 24 hours before serving |
| Too thin and runny | Too much Worcestershire or thin mayo | Whisk in 1 to 2 tablespoons more mayo |
| Too thick to dip | Heavy mayo, cold straight from fridge | Stir in 1 teaspoon water or let it sit 10 minutes |
| Too tangy or sharp | Heavy hand with ketchup | Add a tablespoon of mayo and a pinch of salt |
| Not peppery enough | Pre-ground pepper, too little | Add freshly cracked coarse pepper, 1/8 tsp at a time |
| Too salty | Salted mayo plus added salt | Balance with a little extra ketchup and mayo |
The single most common complaint, by a wide margin, is that the sauce tastes flat or just like ketchup. Nine times out of ten that is not a seasoning problem at all. It is an impatience problem, and the fix is simply to chill it longer before you judge it. Trust the rest.
Ingredient Swaps and Substitutions
Run out of something? Most of these ingredients have a sensible stand-in, and a couple of swaps even open up new versions of the sauce. Here is how to adapt without a trip to the store.
| If you are out of | Use instead | Notes |
|---|---|---|
| Worcestershire sauce | 1 tsp soy sauce + 1/4 tsp vinegar | Keeps the savory umami note |
| Garlic powder | 1/2 small clove, grated fine | Use less; fresh garlic is sharper |
| Regular mayonnaise | Vegan mayo | Makes the whole sauce plant-based |
| Ketchup | 3 tbsp tomato puree + 1 tsp sugar | Adjust sweetness to taste |
| Coarse black pepper | Cracked peppercorns | Avoid fine pre-ground; flavor is duller |
Two swaps are worth calling out. First, a plant-based version is genuinely easy: use a good vegan mayonnaise and a vegan Worcestershire, and the result is close enough that most people will not notice. The one thing to watch is that some vegan mayonnaises are thinner than dairy-egg versions, so you may want to start with a little less ketchup and add it back to taste. Second, if you need to keep things celiac-safe, choose a certified gluten-free Worcestershire, since some brands contain malt vinegar from barley; serve it alongside gluten-free snacks and sides and nobody at the table has to skip the dip.
One swap that trips people up is the mayonnaise itself. Brands vary more than you would think. A thick, full-fat, slightly tangy mayonnaise gives the closest match to the drive-thru texture, while a thin or overly sweet mayo throws the balance off and usually needs a touch more pepper and salt to compensate. If your finished sauce always seems to slide off the fries, the mayo is the first thing to change before touching the seasonings. The same goes for ketchup: a standard tomato ketchup is the target, not a fancy spiced or low-sugar version, both of which shift the flavor away from the original.
Variations Worth Trying
The classic version is the standard, but once you are comfortable with the base, a few small additions take it in fun directions. Stir in a quarter teaspoon of cayenne or a teaspoon of your favorite hot sauce for a spicy cup. A pinch of smoked paprika and a few drops of liquid smoke turns it into a barbecue-leaning dip that loves grilled meats. A squeeze of fresh lemon juice brightens it for seafood. And a spoonful of prepared horseradish gives it a sharp, sinus-clearing kick that works beautifully with roast beef.
If you start enjoying the build-your-own-condiment process, that is the whole spirit of what we do here. You can browse our dips and spreads collection for more creamy copycats, or work up the heat with our BBQ and wing sauces when you want something with more char and tang.
What to Serve It With
Cane’s sauce was born to dip chicken fingers, so that is the obvious home run. Crispy chicken tenders, whether deep-fried or done in an air fryer, are the perfect partner; this hub of air fryer chicken recipes has plenty of tender options that crisp up fast. But do not stop there. It is excellent on fries and tater tots, as a spread on a fried chicken sandwich or a burger, with onion rings, alongside grilled shrimp, and even drizzled over a chopped salad in place of a heavier dressing.
For a fuller spread, lean on the cocktail-hour staples. If you are setting out a platter of fried things, a second contrasting sauce keeps it interesting; our bright, horseradish-forward cocktail sauce recipe is a natural companion when seafood is on the table.
Storage and Make-Ahead Tips
Keep the finished sauce in an airtight container in the refrigerator. It holds its quality for about five to seven days, and honestly it tastes best on days two and three, after the flavors have had even more time together. Because the resting period improves it, this is the rare sauce that actively rewards making it ahead. Do not leave it out at room temperature for long stretches, since it is mayonnaise-based, and do not freeze it; freezing breaks the emulsion and the thawed texture turns grainy and weepy. If a stored batch firms up in the cold, a quick stir and a few minutes on the counter bring it right back.
Frequently Asked Questions
Why does my homemade Cane’s sauce taste like plain ketchup?
Almost always because it has not rested long enough. Freshly mixed, the dried spices and salt have not yet dissolved and merged with the base, so you taste the loud ketchup note on its own. Cover it and chill for at least four to six hours, ideally overnight, and the flavors will round out into the savory, peppery sauce you are after.
What is the secret ingredient in Cane’s sauce?
There is no single magic bottle, but the two elements that make or break it are Worcestershire sauce and coarsely cracked black pepper. The Worcestershire delivers the savory, umami depth that separates it from a basic fry sauce, while coarse pepper provides the signature bite. Pre-ground pepper simply cannot match it.
How long does homemade Cane’s sauce last in the fridge?
Stored in an airtight container in the refrigerator, it keeps well for about five to seven days. It actually peaks in flavor around the second and third day. Avoid leaving it at room temperature, and do not freeze it, since freezing causes the mayonnaise emulsion to separate and turn grainy.
Can I make Cane’s sauce without Worcestershire sauce?
Yes, though you will want a stand-in to keep the savory depth. The closest swap is one teaspoon of soy sauce plus a quarter teaspoon of vinegar per single batch. It will not be identical, but it preserves the umami note far better than leaving it out entirely, which would leave the sauce tasting one-dimensional.